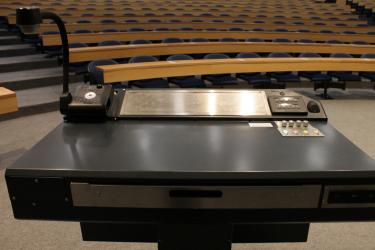
Use the light switches next to the lectern to adjust the lighting as needed.
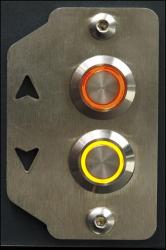
To adjust the lectern height as needed, hold down the Up or Down button on the left hand side of the lectern (above the left hand pull-out tray).
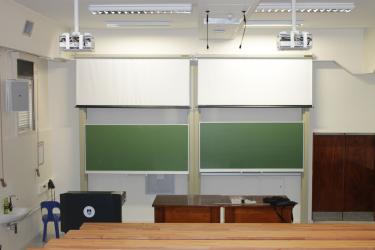
Projector positions are indicated as if you're facing the teaching wall.
Use the Screen Left and Screen Right dials near the light switches to set the screens at the required height.
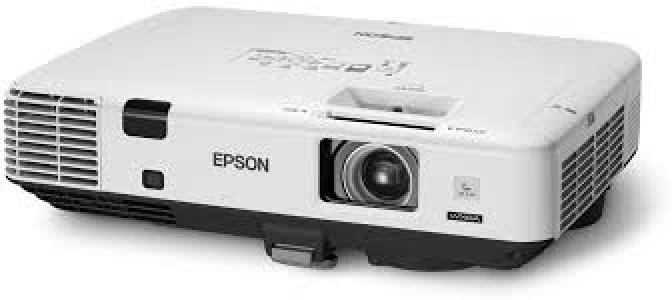
Left projector: On the lectern Crestron
control panel, press the top row POWER button to turn the
projector on/off.
Right projector: On the lectern Crestron control panel,
press the bottom row POWER button to turn the projector
on/off.
Note: Projectors take 1 minute to warm up
before you can use them. If they've recently been switched off, wait a few
minutes before switching them on.
Back to top
Use the lectern Crestron control panel to select inputs for the left and right projectors:
Left projector |
Right projector |
- Classroom PC: Press the top row PC button.
- Laptop: Connect your laptop to the lectern's input panel (see Connecting your laptop) then press the top row LAPTOP button.
- Document camera: Open the document camera (see Using the document camera) then press the top row DOC CAMERA button.
- HDMI: Connect your laptop / HDMI device to the lectern's input panel (see Connecting your laptop) then press the top row HDMI button.
|
- Classroom PC: Press the bottom row PC button.
- Laptop: Connect your laptop to the lectern's input panel (see Connecting your laptop) then press the bottom row LAPTOP button.
- Document camera: Open the document camera (see Using the document camera) then press the bottom row DOC CAMERA button.
- HDMI: Connect your laptop / HDMI device to the lectern's input panel (see Connecting your laptop) then press the bottom row HDMI button.
|
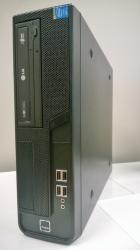
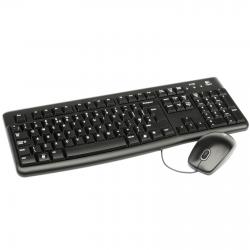
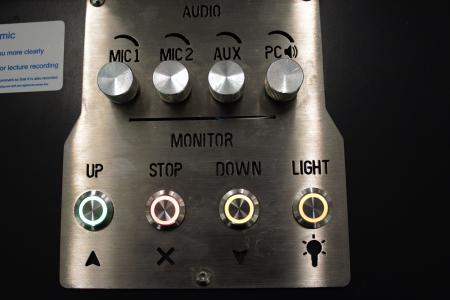
The classroom PC is built into the lectern and is accessible by using the classroom PC control panel on the right hand side of the lectern. Press the Up
button to open the screen. In case of emergency, press the X
button to stop the movement. To access the keyboard and mouse, pull out the tray
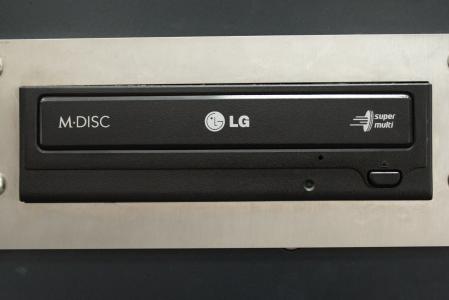
next to the built-in optical drive. When you're done, press the Down button to close the screen, and manually push the keyboard and mouse tray back into the
lectern.
Logging into the PC |
Using a CD / DVD |
Using a USB flash drive |
The classroom PC is already connected to the UCT network, which allows you to access the internet and your network drives (i.e. your F: and G: drives).
- At the login screen, log in using your UCT username and password.
- When you've finished using the PC, click the Start
button > Log off. This will log you out so that others can't access your UCT network account.
|
You can play CDs or DVDs using the classroom PC's built-in optical drive. The drive is located on the right hand side of the lectern - next to the keyboard
|
To access content from your own USB flash drive, plug your flash drive into the USB port on the right hand side of the lectern.
|
Caution: Do not save any files onto the classroom PC because your data will be lost when the PC reboots. Save all files to your own USB flash drive. |
Note: Cables are located in the
cable drawer within the lectern's right hand side pull-out tray.
Laptop |
Internet / network access |
HDMI-enabled laptops:
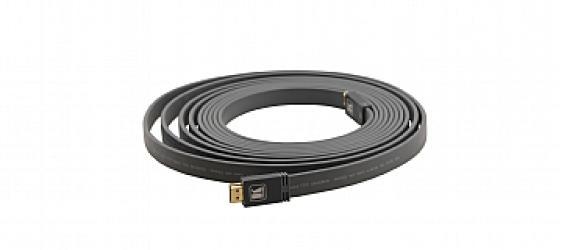
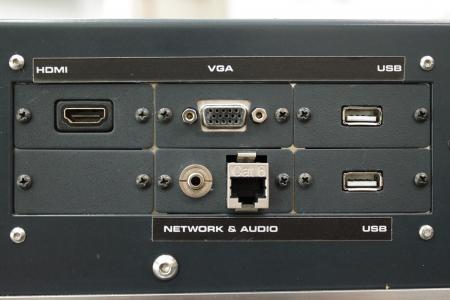
Connect the HDMI cable from your laptop HDMI port to the HDMI port on the right hand side of the lectern.
Non-HDMI-enabled laptops:
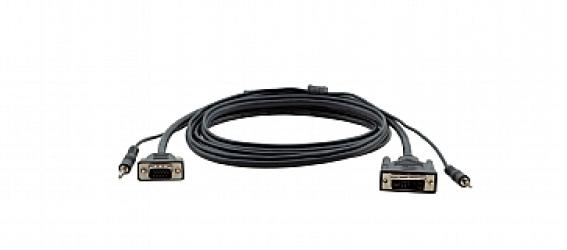
- Connect the VGA cable from your laptop VGA port to the VGA port on the right hand side of the lectern.
- Connect the audio cable from your laptop audio socket to the AUDIO port on the right hand side of the lectern.
If the projection screen doesn't display your laptop screen output:
- Look for a Function (F1, F2, etc.) key on your laptop keyboard that represents the monitor display.
- Hold the Fn key and press the relevant monitor display key.
|
|
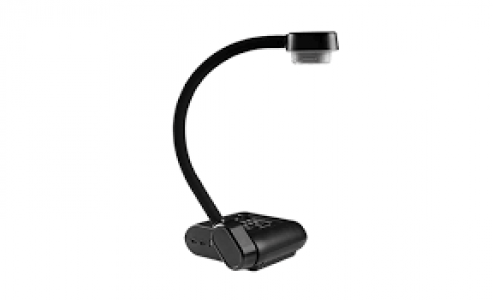
The document camera acts as a writing surface - similar to writing on an overhead projector slide. It can also project existing documents, images, and objects.
Basic instructions for these features are provided below. Advanced functionality
includes freezing an image, hiding or emphasising parts of your images,
recording video and saving these captures to external storage. Consult the
instruction pack in the safe (or
online) to learn how to use the advanced functionality.
Set the switch on the right hand side of the document camera to
RGB.
- Turn the document camera on by pressing the POWER
button on the document camera control panel. The power light turns solid
green.
- Place your display item (document or object) on the document camera
display surface.
- Adjust the document camera as required:
- Move the camera head as needed.
- To brighten your display item, press the LAMP
button on the document camera control panel to turn the light on.
Adjust the brightness using the brightness control buttons.
- To adjust image quality or size, either press the AF
button once, or use the zoom buttons on the document camera control
panel to zoom as needed.
- When you've finished using the document camera, switch the light off
then press the POWER button to turn the document camera
off. Leave the camera head as is.
Back to top
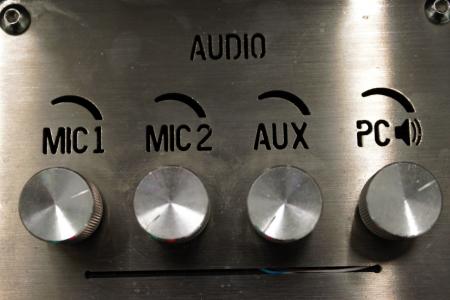
Use the PC dial on the lectern to adjust the audio level of
the classroom PC or the laptop / other device you have connected.
If you're teaching a timetabled undergraduate course or class, your lectures
in this classroom will be recorded by default unless you opt out. You can
self-manage your lecture recordings through your Vula site. For more information
on the process, or instructions on how to opt out of the recordings, please
visit
http://www.cilt.uct.ac.za/cilt/lecture-recording.
For your lecture in this classroom:
- Any media projected through the classroom data projectors will be
recorded. If you're using a blackboard or whiteboard, please keep within the
camera's field of view.
To see the field of view, scroll down to Room Capabilities
and expand the Lecture Recording section.
- If your class is the last before Meridian or at the end of the day, turn
off the data projectors and document camera. Also close the classroom PC
screen, keyboard and mouse.
- If you've used the classroom PC, log out by clicking the Start
button > Log off.
- Remove all devices you've plugged into the lectern, such as your flash drive or laptop.
- Put the cables back into the cable drawer and close the cable drawer.
- Store the chalk and the chalk duster in the holder on the wall (i.e. not
the lectern).
- Roll up the projector screens.
Note: Telephonic support hours: 7:30 AM to 6PM, Monday to Friday.
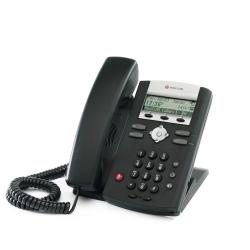
Send an email to icts-css@uct.ac.za, or use the phone
near the entrance to request immediate assistance:
- Pick up the handset.
- Select the relevant option from the list:
- Press 1 if you have an emergency
- Press 2 for classroom support (Classroom Support Services)
- Press 3 for maintenance issues (Properties & Services)
- Press 4 for Campus Protection Services
- To dial, press the checkmark symbol on the keypad.
- Hang up the phone to end the call.
Back to top
 Capacity: 100

 updated.jpg)
.jpg)

